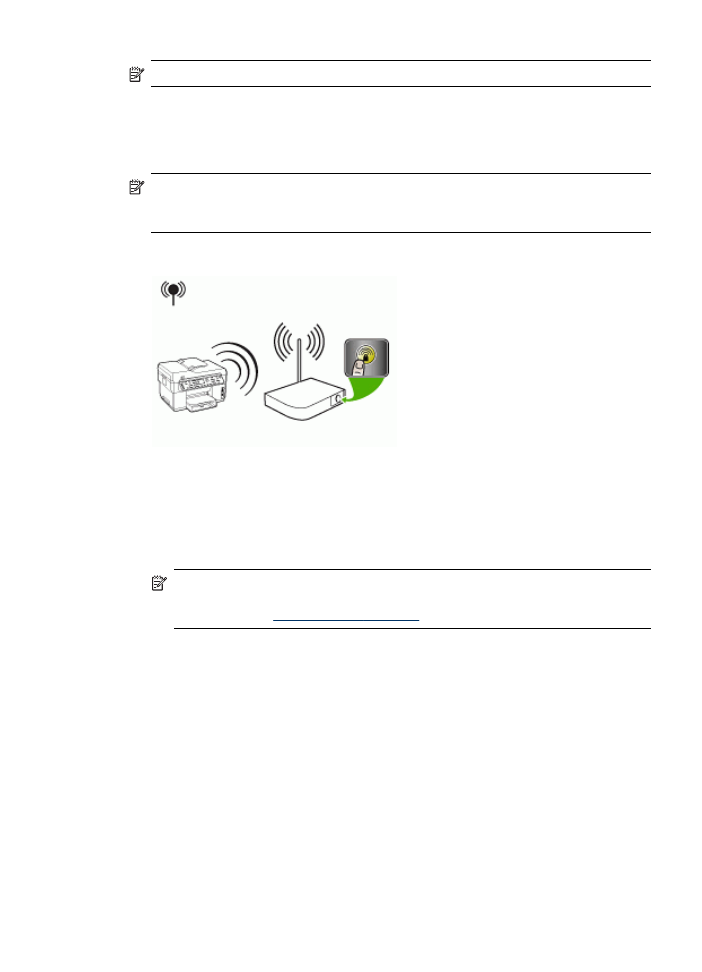
To set up wireless communication using SecureEasySetup (SES)
If your wireless router is SES compatible, see the following instructions to set up using
SES.
NOTE:
You will need a wireless access point with SecureEasySetup to use this
method. Set your access point to SecureEasySetup mode. Refer to your access
point documentation for more instructions.
1. Press the SES button on the wireless router.
2. Within 2 minutes, press Setup. If the device has a two-line display, select
Network, select Wireless Setup Wizard, select SecureEasySetup, and then
follow the onscreen instructions.
3. Wait about 2 minutes, print the device's self-test diagnostic page, and verify that
the SES settings match the router's wireless settings.
NOTE:
If the connection fails, you might need to reset the device's network
settings or modify the wireless settings and repeat the steps. For more
information, see
Solve wireless problems
.
4. Close any applications that are running on your computer system.
5. Insert the Starter CD into the CD drive. The CD menu runs automatically. If the CD
menu does not start automatically, double-click the setup icon on the Starter CD.
6. On the CD menu, click Install and follow the onscreen instructions.
7. At the Connection Type dialog, select Wired network/Wireless and follow the
onscreen instructions.