Remove the control-panel faceplate
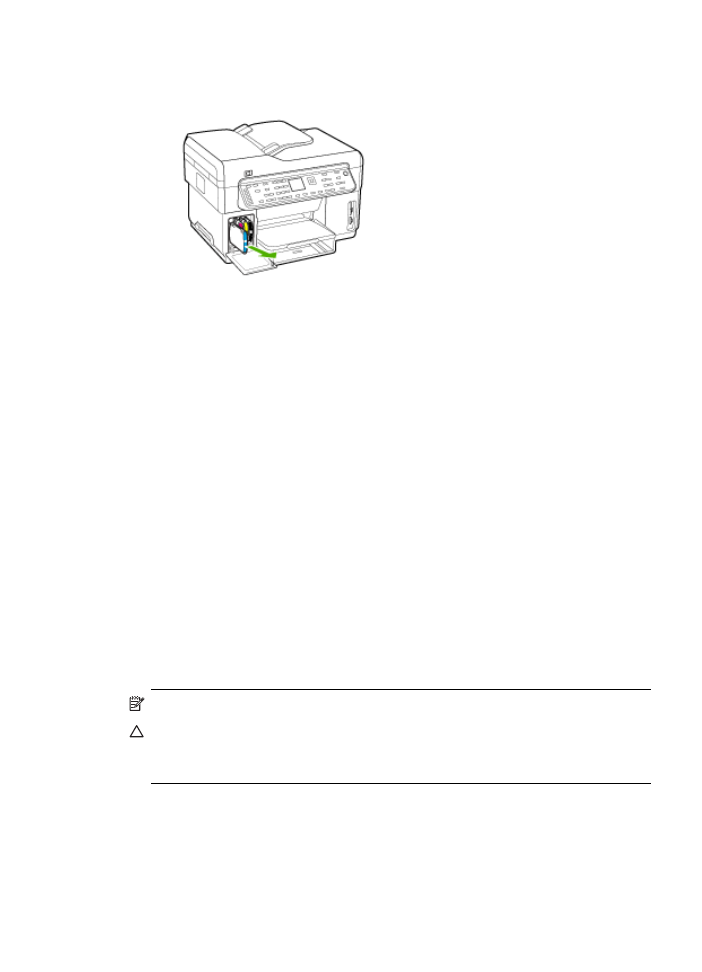
Complete the following steps once you have removed the ink cartridges and printheads.
NOTE:
This information does not apply to customers in Japan.
CAUTION:
The device must be unplugged before following these steps.
CAUTION:
The replacement device will not be shipped with a power cord. Store the power
cord in a safe place until the replacement arrives.
To remove the control-panel faceplate
1. Press the Power button to turn off the device.
2. Unplug the power cord, and then disconnect it from the device. Do not return the power cord
with the device.
Prepare the device for shipment
205
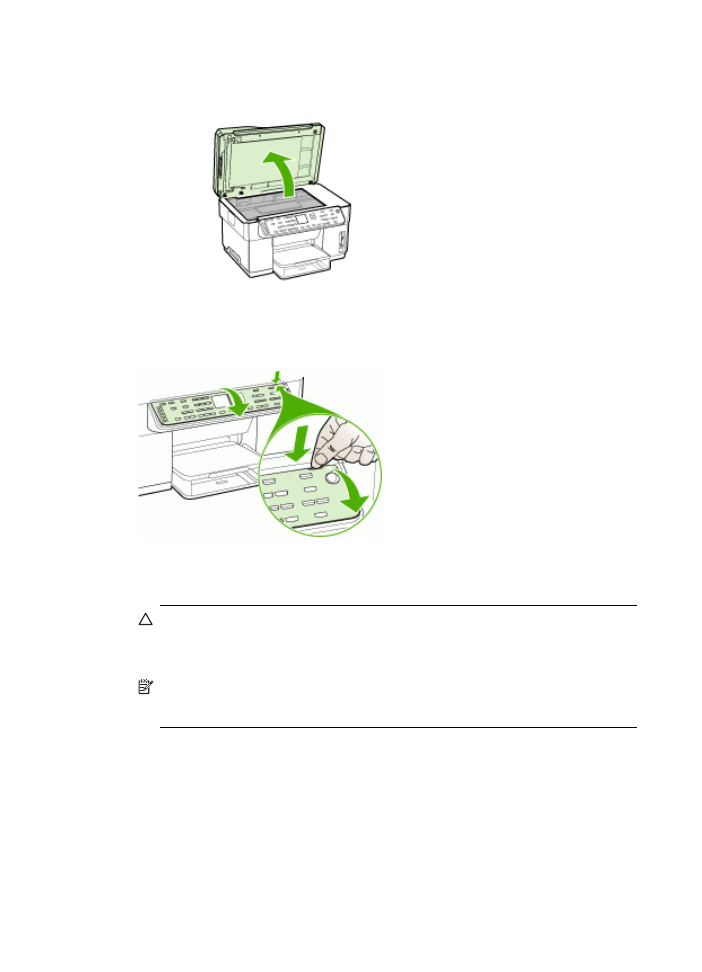
3. Remove the control-panel faceplate as follows:
a. Lift the ADF lid.
b. Use either your finger or insert a thin object in the tab on the upper right corner of the
control-panel faceplate to pry the control-panel faceplate off.
4. Retain the control-panel faceplate. Do not return the control-panel faceplate with the HP All-
in-One.
CAUTION:
The replacement device might not come with a control-panel faceplate.
Store your control-panel faceplate in a safe place, and when the replacement device
arrives, reattach your control-panel faceplate. You must attach your control-panel
faceplate to use the control-panel functions on the replacement device.
NOTE:
See the setup poster that came with the device for instructions on how to attach
your control-panel faceplate. The replacement device might come with instructions for
setting up your device.