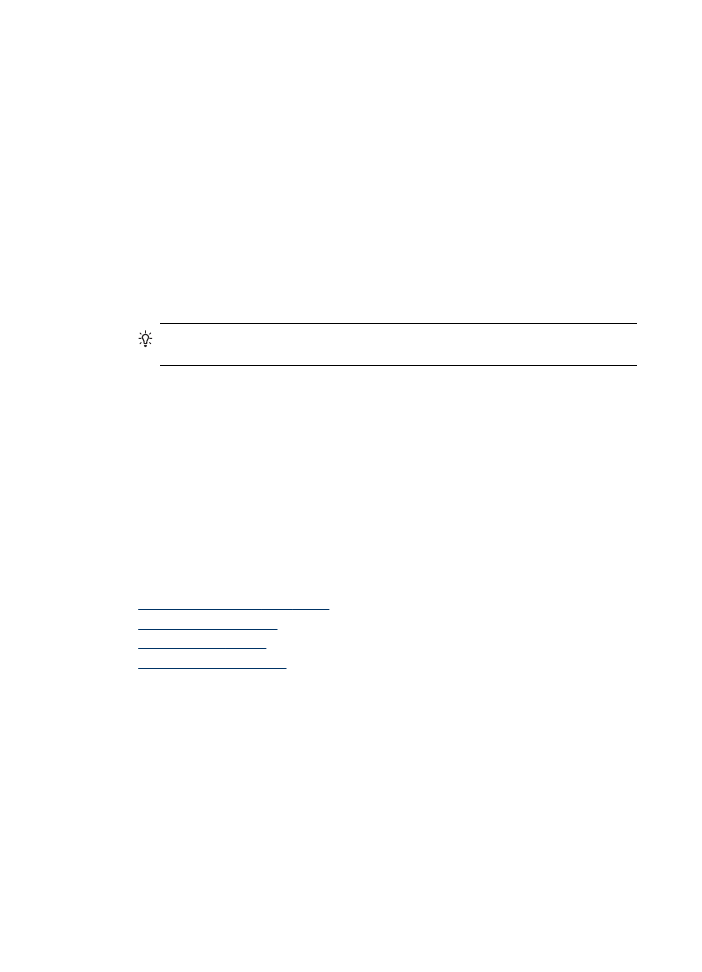
Print photos using a proof sheet
A proof sheet is a simple and convenient way to select photos and make prints directly
from a memory card or storage device without a computer. A proof sheet (which might
be several pages long) shows thumbnail views of the stored photos. The file name,
index number, and date appear under each thumbnail.
Chapter 7
62
Work with memory devices (some models only)
Proof sheets are also a quick way to create a printed catalog of your photos.
NOTE:
From the device, you can only access JPEG and TIFF image files. To
print other types of files, transfer the files from your memory card or storage device
to your computer and use the HP Photosmart Software.
Printing photos from a proof sheet requires three steps:
•
Print a proof sheet of the photos on your memory card or storage device
•
Complete the proof sheet
•
Scan the proof sheet
To print a proof sheet
1. Insert a memory card into the appropriate slot on the device, or connect a storage
device to the front USB port.
2. Choose the appropriate display:
For color display models
a. Press the Photo Menu button, and then select View & Print.
When you press OK, the most recent photo appears on the display.
b. Press OK to display the Print Menu.
c. Press the arrow keys to select Projects.
d. Press the arrow keys to select Proof Sheet.
e. Press the arrow keys to select Print Proof Sheet, and then press OK.
f. Press the arrow keys to select the appropriate Paper Size and Paper Type.
For two-line display models
a. Press the Photo Menu button.
A message displays with the number of files found on the card or storage
device.
b. Press the Proof Sheet button, press the arrow keys to select Print, and then
press OK.
Print photos from the control panel
63
To complete a proof sheet
1. Select the photos to print by using a dark pen or pencil to fill in the circles located
under the thumbnail images on the proof sheet. If you want to print more than one
copy of a photo, fill in the second or third circle. You can print up to three copies of
each selected photo.
TIP:
If you want to print all the photos on the memory card, fill in the Select
All Photos circle below the layout options in step 2 of the proof sheet. One
copy of each photo prints.
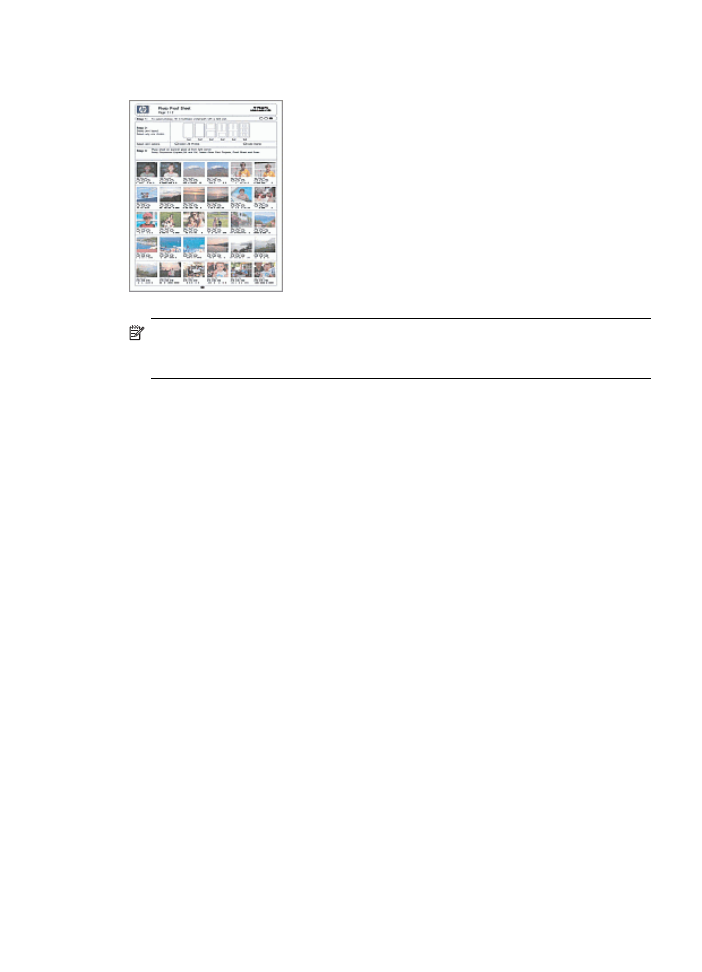
2. Select one layout style by filling in a circle in step 2 of the proof sheet.
NOTE:
If you need more control over print settings than the proof sheet
provides, you can print photos directly from the control panel.
3. (Optional) If you want to print a date/time stamp on your photos, fill in the Date
Stamp circle below the layout options in step 2 of the proof sheet.
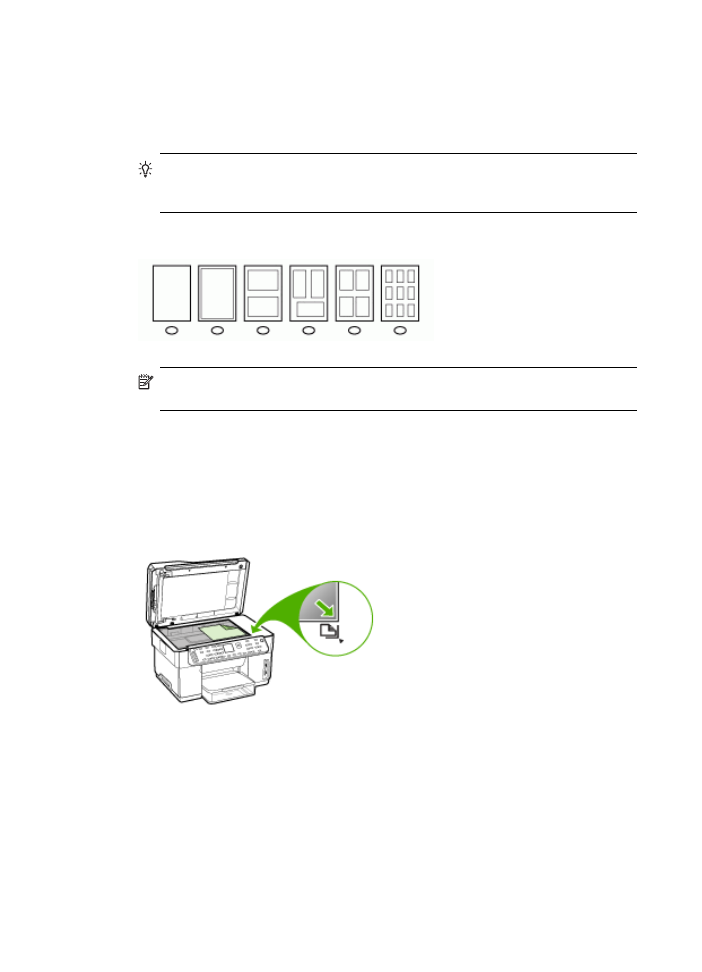
To scan a completed proof sheet
1. Load the proof sheet print-side down on the right-front corner of the glass. Make
sure the sides of the proof sheet touch the right and front edges. Close the lid.
2. Make sure the same memory card or storage device you used to print the proof
sheet is still inserted in the device when you scan that proof sheet.
3. Make sure you have photo media loaded into the device.
Chapter 7
64
Work with memory devices (some models only)

4. Press the Photo Menu button.
5. Choose the appropriate display:
For color display models
a. Press the arrow keys to select View & Print, and then press OK.
b. Press the arrow keys to select Projects, and then select Proof Sheet.
c. Press the arrow keys to select Scan Proof Sheet, and then press OK.
d. When prompted, select the paper size and paper type, and then press OK.
For two-line display models
▲ Press the Proof Sheet button, press the arrow keys to select Scan, and then
press OK.
The device scans the proof sheet and prints the selected photos.